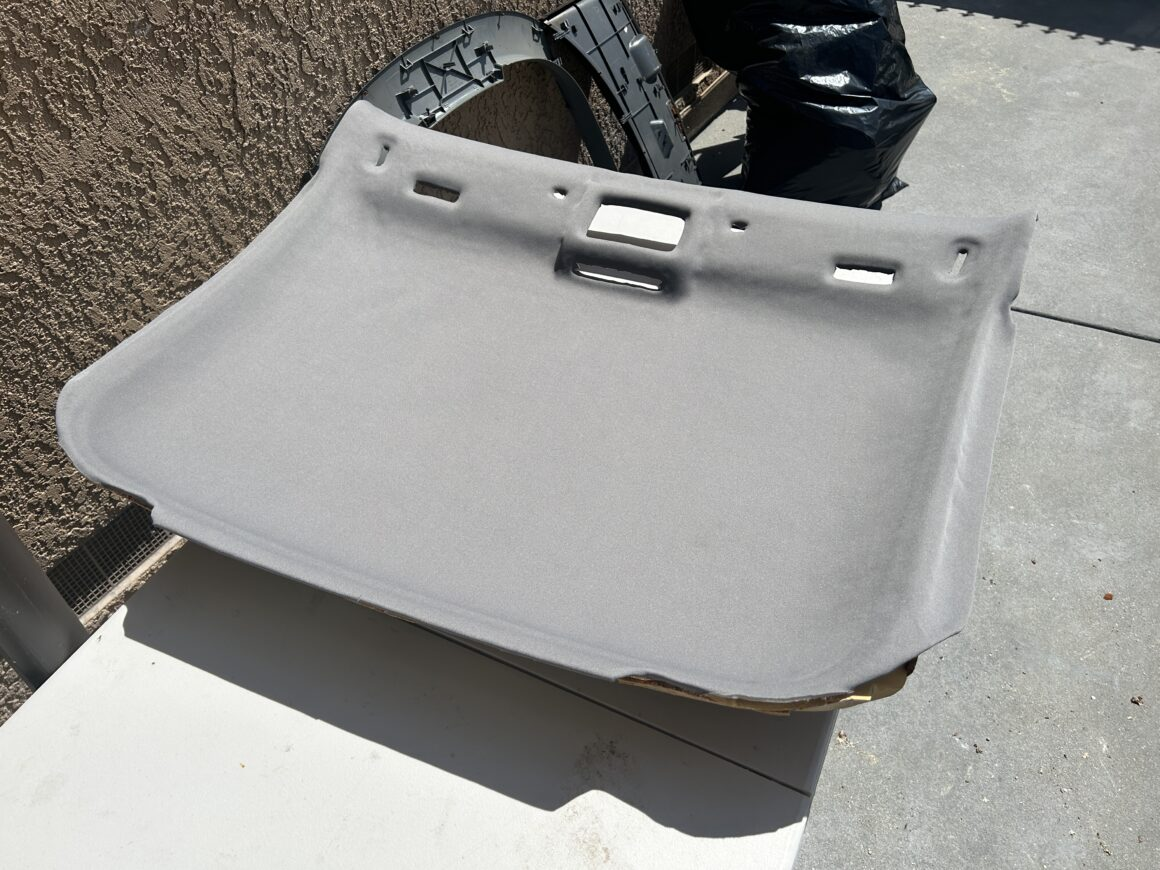
How to Reupholster a Sagging Headliner On Your Car
When you make purchases through links on this site, The Track Ahead may earn an affiliate commission. Also, these posts are based off my own experiences. I am not responsible for any action you take as a result of reading this. Learn More
If you own an older car, chances are that you’ve experienced a headliner that is sagging. It might be sagging in certain sections of the headliner, or maybe the entire thing is sagging. The headliner fabric ends up coming apart from the headliner when it sags, but why does this happen?
Headliner fabric has two layers: a foam layer and the fabric itself. The headliner fabric (fabric and foam backing) is glued to the headliner with a special upholstery glue. Over time with regular heat exposure, the foam deteriorates and the bond between the headliner fabric and the foam of the headliner fabric breaks down. As a result, the fabric of the headliner sags and hangs off the roof of your car.
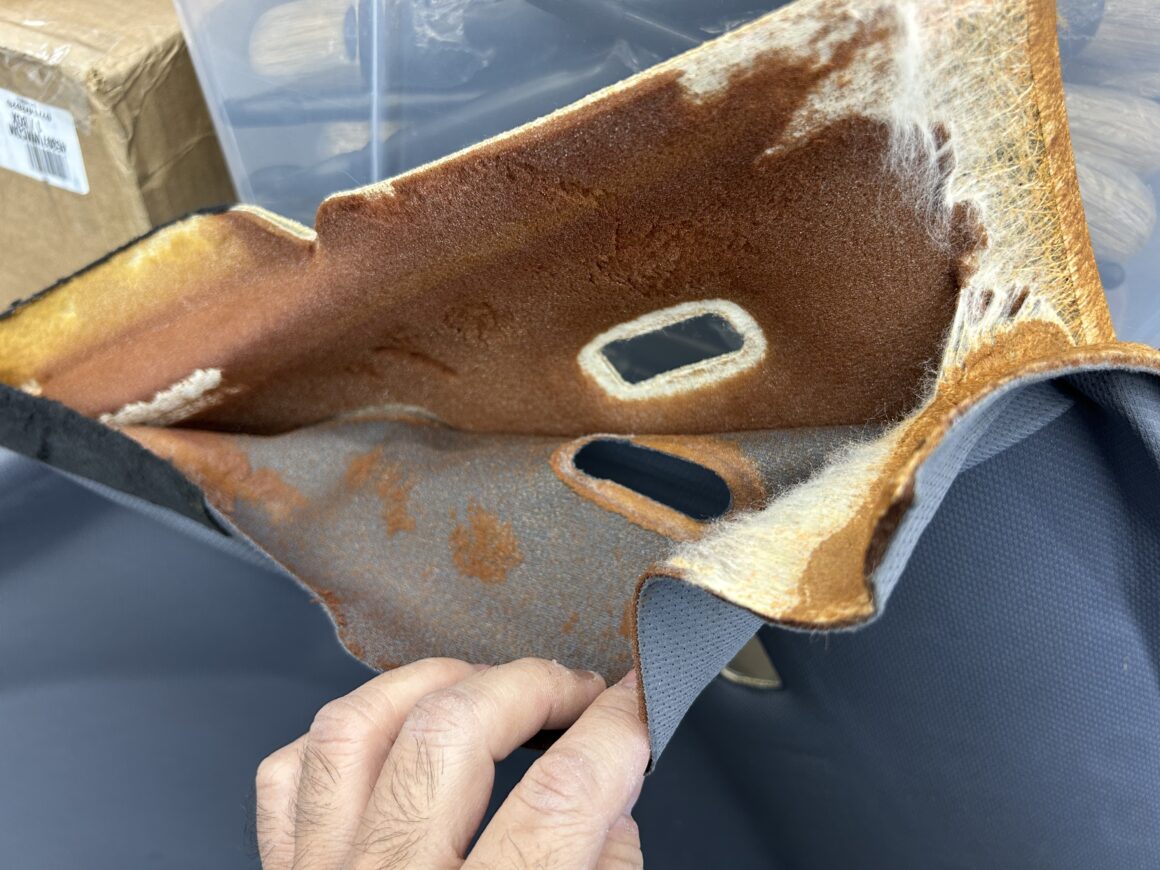
Now that you understand the way headliners work, we can now talk about how to fix a sagging headliner. The best way to fix your headliner is to simply replace it. This is going to be the best looking fix you can achieve, but you will need to remove the entire headliner to reupolster it. There are also ways to repair it, but it won’t look good. I’ll touch on these different repairs, as well as go over the steps needed to fully reupholster the headliner on this article.
Can I Just Repair My Headliner?
Can you repair your headliner without dropping it? Yes. Will it look any good? Probably not.
There are two approaches that people generally take when they’re trying to repair their headliner without taking the extra steps to remove it. Either they inject glue into the headliner fabric with a syringe, or they use pins to hold the headliner fabric in place.
Repairing a Headliner with Syringe and Glue
This method doesn’t work well at all. You already know how a headliner is put together, so you know that the fabric has separated from the foam, not the headliner itself. So trying to pump glue into the gap between the fabric and the foam that has broken apart won’t really work. The glue will just be holding onto the fabric on one side, and the already crumbling foam on the other.
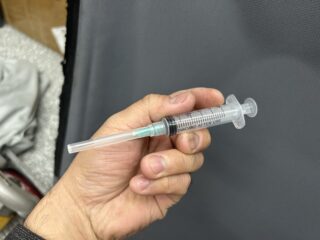
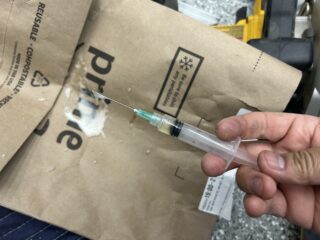
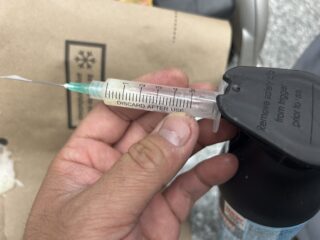
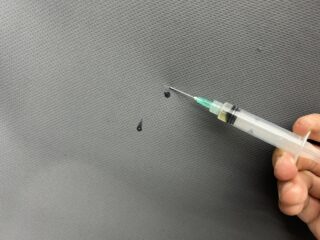
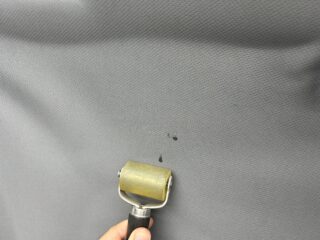
Other issues with this method is that it’s messy. Trying to pump glue with a syringe will leak glue residue all over the place. As you can see, the drop of glue got onto the front on my headliner here and it looks terrible.
Even if you’re able to use the syringe to press glue into the space behind the fabric, it can bleed through the fabric; it also doesn’t allow for an even spread of the glue on the back of the fabric. Let’s say you do manage to get some glue in that annular space between the fabric and headliner, trying to press the fabric onto the headliner might leave wrinkles for an unsightly repair.
Repairing a Headliner with Pins
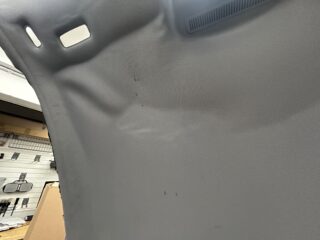
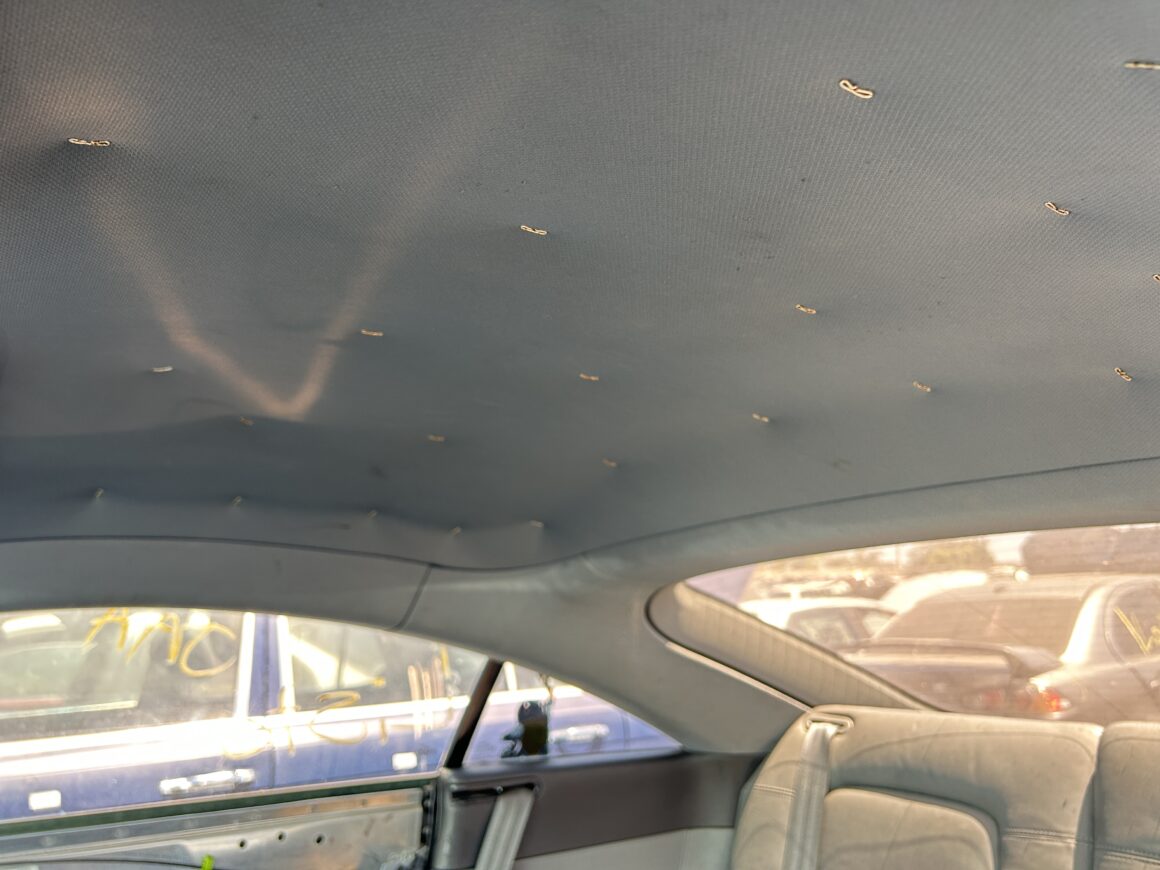
Many people who don’t want to pull their headliner will use pins to hold the headliner fabric up. These pins are pressed into the headliner and evenly spaced throughout the headliner to support the sagging headliner. I don’t have experience doing this, but from the photos I’ve seen online and in person on other’s cars, the look can range from bad to just OK-looking.
I’m not sure how people ensure that these pins are symmetrical and evenly spaced, but I think it’s a decent option for those who absolutely don’t want to remove the headliner. There are some people who use pins like this car I saw at a junkyard pictured below, and there are upholstery buttons that look a little nicer. The alternative of removing and reupholstering the headliner can be quite a bit more work, but so using pins can be a viable option for those who want a quicker (but not perfect fix.)
Tools & Materials
You only need a few tools and materials to reupholster the headliner: the headliner itself, upholstery glue, a wire brush or coarse sandpaper, and some nitrile gloves.
Headliner
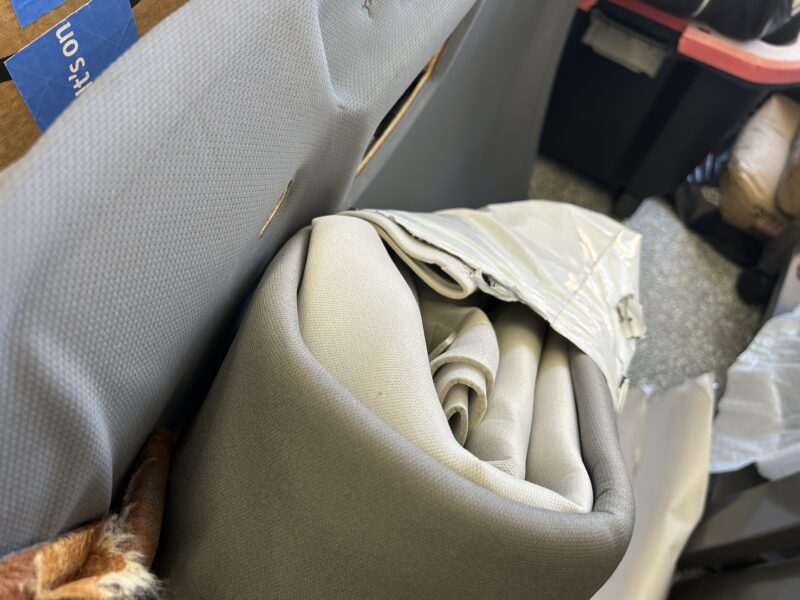
You can source the headliner material from a place that sells headliner fabric. If you want a perfect match, you’ll need to check around to see if the place you’re buying from sells one to match your specific make and model. I personally bought a few online on Amazon, picked the one that matched the best for my car, and returned the others.
Check the other parts of your interior such as the A-pillar, B-pillar, C-pillar, etc. If they are upholstered with the same fabric as the headliner, then reupholstering your headliner alone might look a bit odd if it doesn’t match the rest of your reupholstered trim. I ended up reupholstering the other parts as well to keep the look uniform. But you can decide what you want to do based on your specific vehicle and situtation.
Search for upholstery fabric on Amazon
Wire Brush
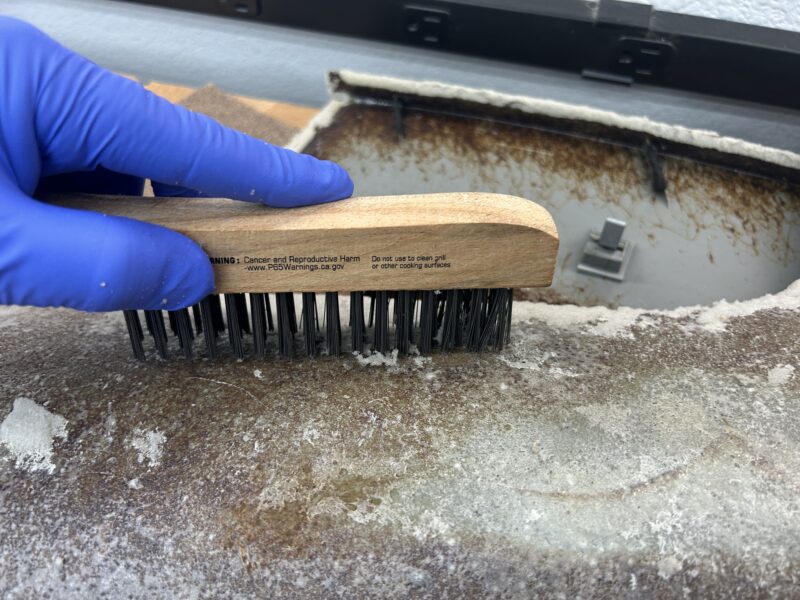
If your headliner is sagging, that means that the headliner fabric has separated from the foam that is likely still sticking to your headliner. After you pull that fabric off, you’ll need a wire brush to scrape off all the old foam before you can apply new glue and headliner fabric.
Maxman Wire Brush
Coarse Sandpaper – 40 or 60 Grit
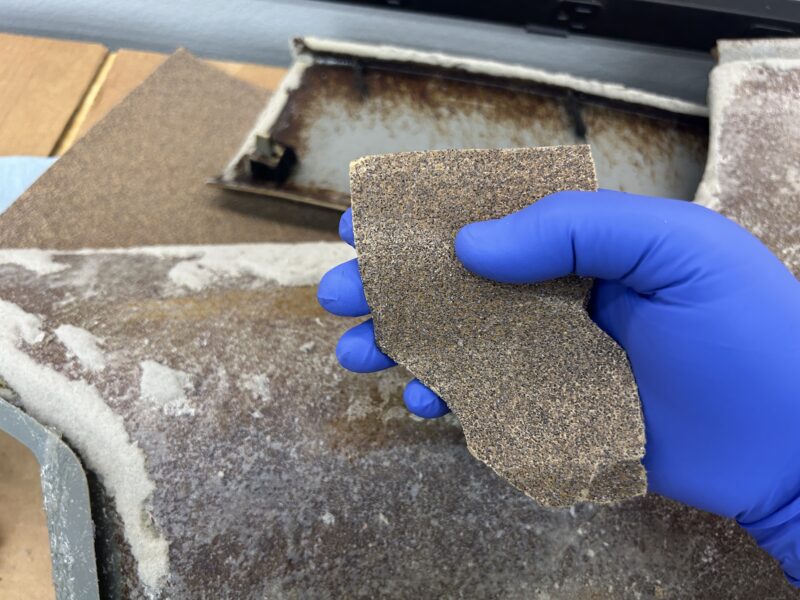
In some cases, a wire brush may not be work with scraping off all the old foam. If that is the case, you may need a very coarse grit sandpaper to sand off the foam from the headliner. I’ve found 40-grit sandpaper to do a great job at scraping off really stuck-on foam from the headliner or interior trim, but I suppose 60-grit could work too.
40-grit is pretty rough, so I would be careful when sanding with it. It was very effective with my plastic trim that I had to reupholster, but I would just be careful with it or try some higher grit (more fine) sandpaper.
Dura-Gold Premium Sandpaper 40 Grit / 60 Grit
Upholstery Glue: DAP Weldwood Landau
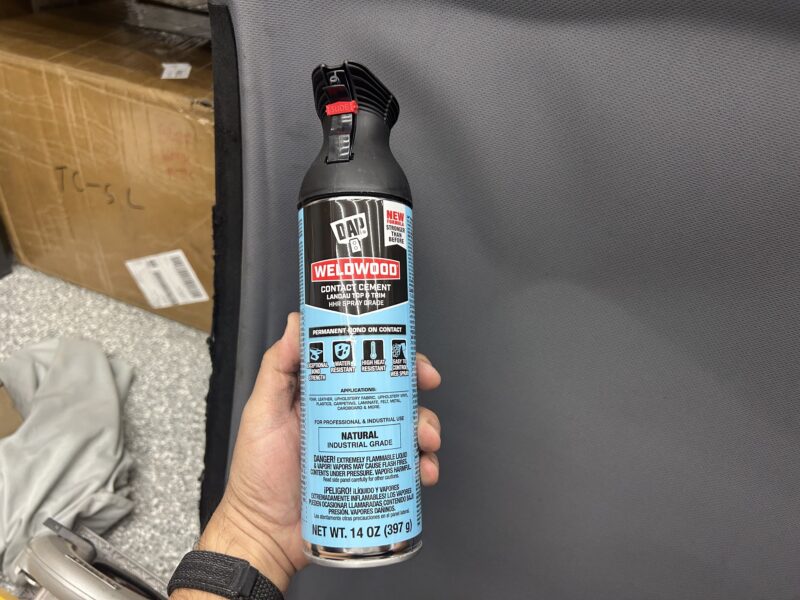
If you’ve wondered what upholstery adhesive you should use, there’s just one answer: DAP Weldwood Landau. This is the headliner glue that everyone who does this type of work uses. DAP Weldwood Glue sprays out of the bottle in a web pattern, which evenly spreads this glue.
You need to spray the back of the headliner fabric (the foam side), as well as the headliner. You wait about 5 minutes until both sides are tacky. Then, stick the two together to get an incredible bond between the upholstery fabric and the headliner.
I would say one of these cans can do a full headliner, but you should just have an extra can with you as you don’t want to run out while you’re doing the job. If you’re reupholstering other trim pieces, you’ll definitely want at least a few cans on hand. I did the headliner, a-pillars, c-pillars, and tailgate trim, and I needed 3-4 spray cans.
DAP Weldwood Landau Spray Contact Adhesive
How to Reupholster Your Car’s Headliner
As I’ve said at the beginning of the post, the best way to repair your sagging headliner is to reupholster it. By removing the headliner from your vehicle, it allows you to effectively remove the existing headliner fabric, prep the headliner, and reupholster the fabric.
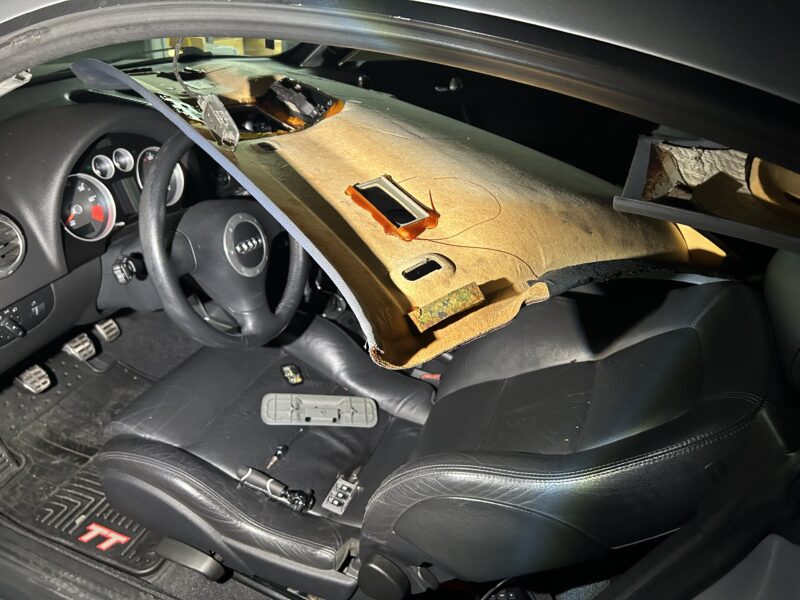
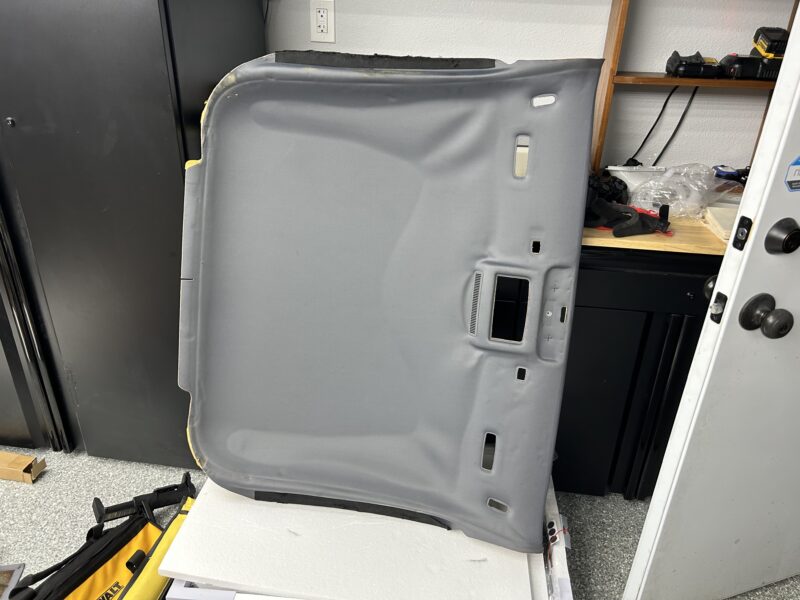
Make sure that you have your headliner fabric picked out and that it is large enough for the headliner that you’re wrapping. Also if you’re not getting a direct replacement, you’ll want to get as close of a replacement for the fabric before proceeding.
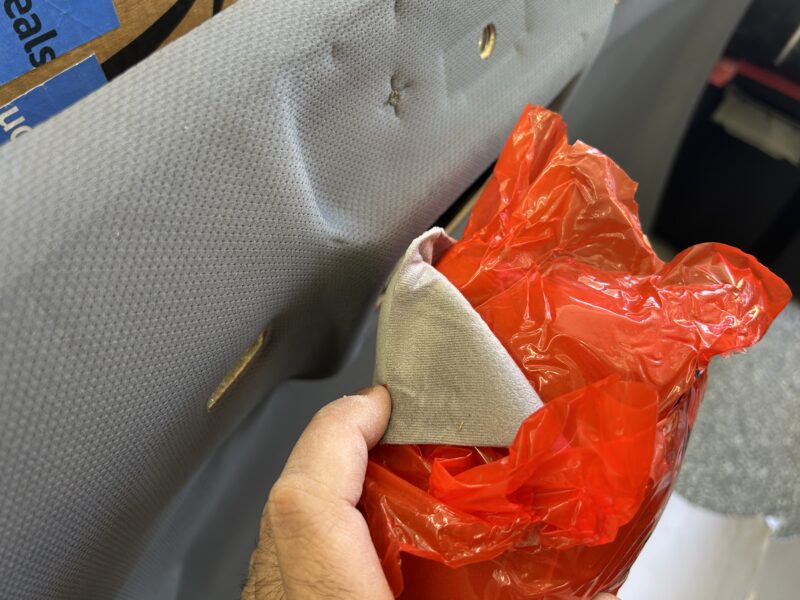
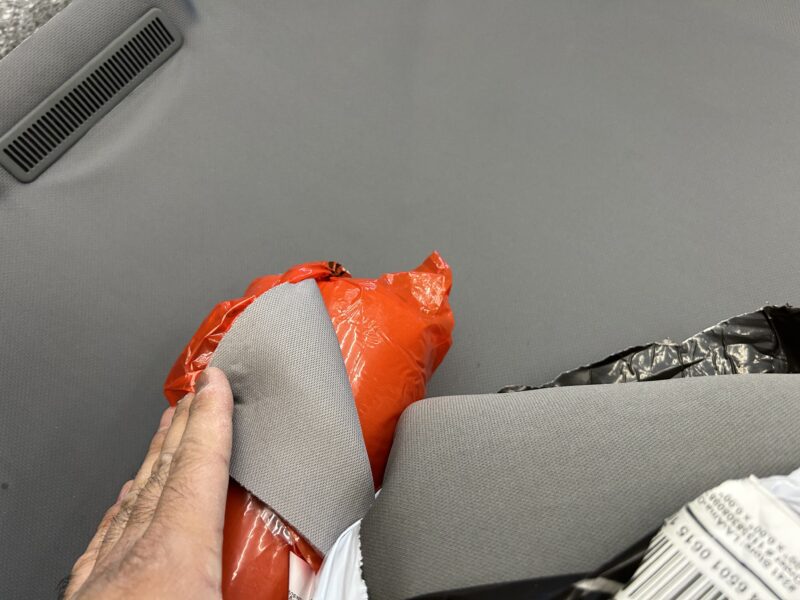
Every vehicle will be different, but to drop the headliner you’ll typically need to remove a variety of trim pieces and components, as well as disconnecting electrical connectors beforehand. If the vehicle is older, you should be extra careful as some of these plastic pieces that tend to break while you’re removing or installing them. Over the years of heat exposure, these parts become brittle and can easily break while handling.
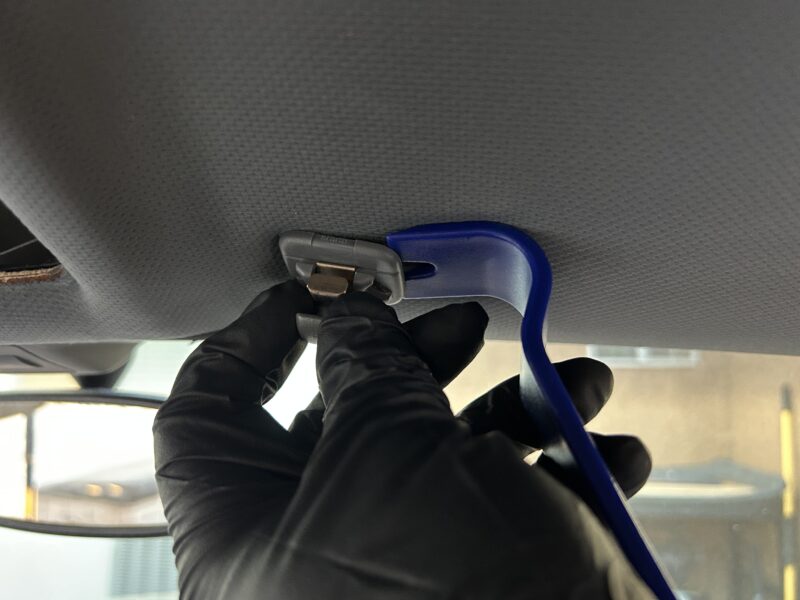
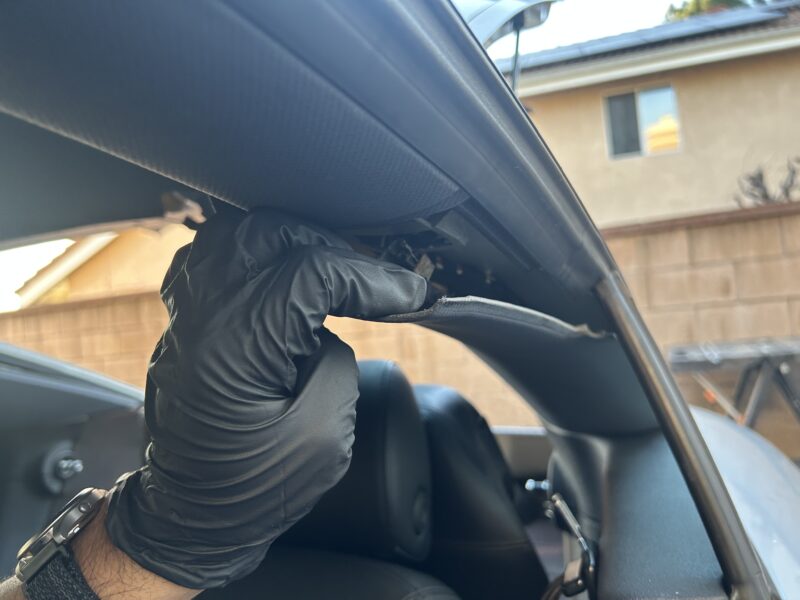
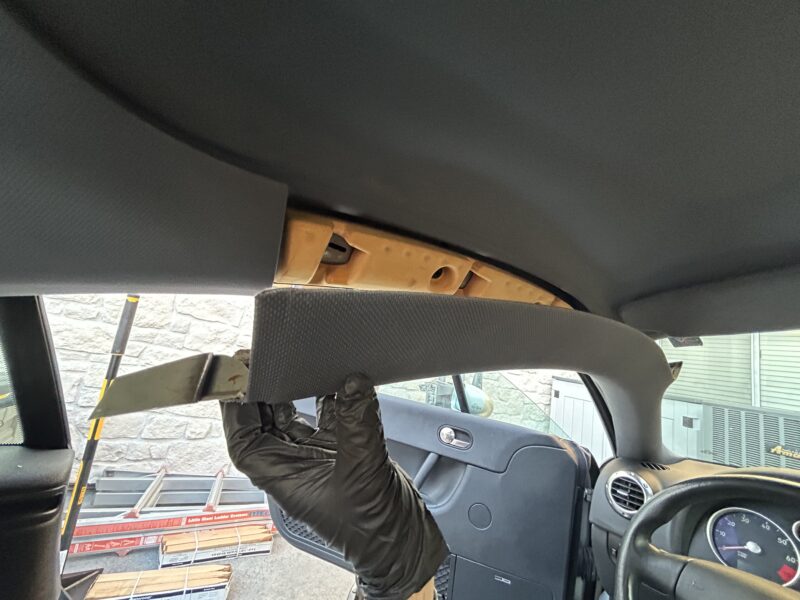
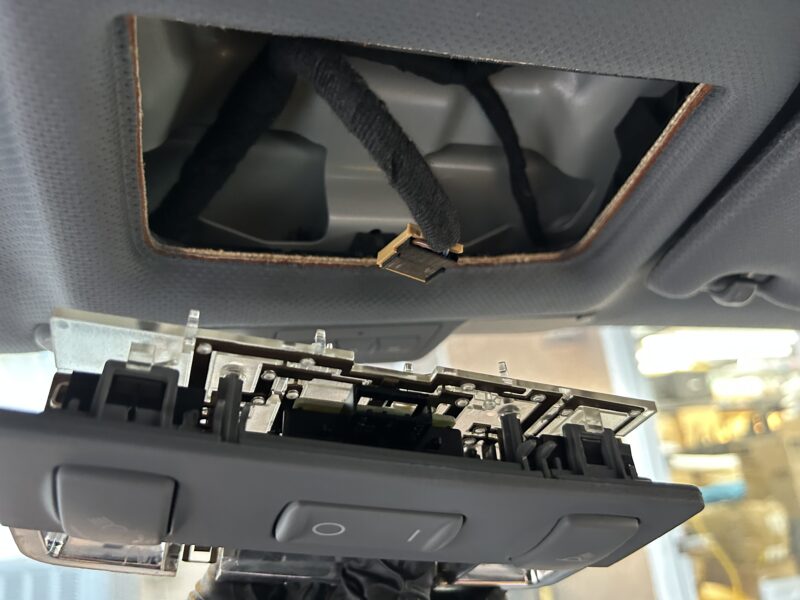
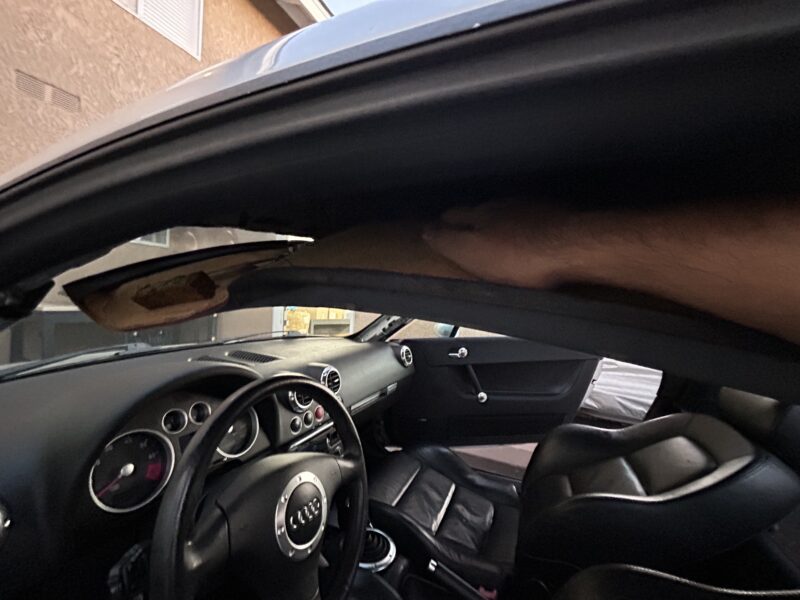
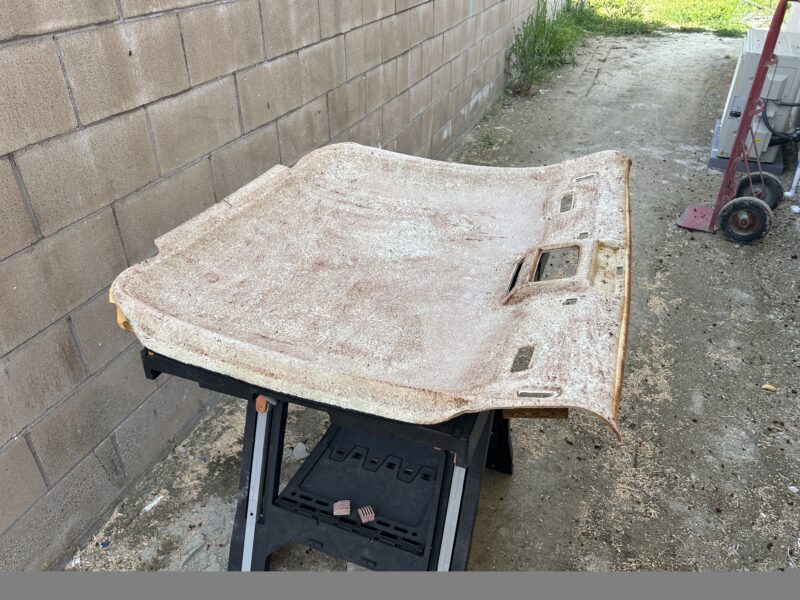
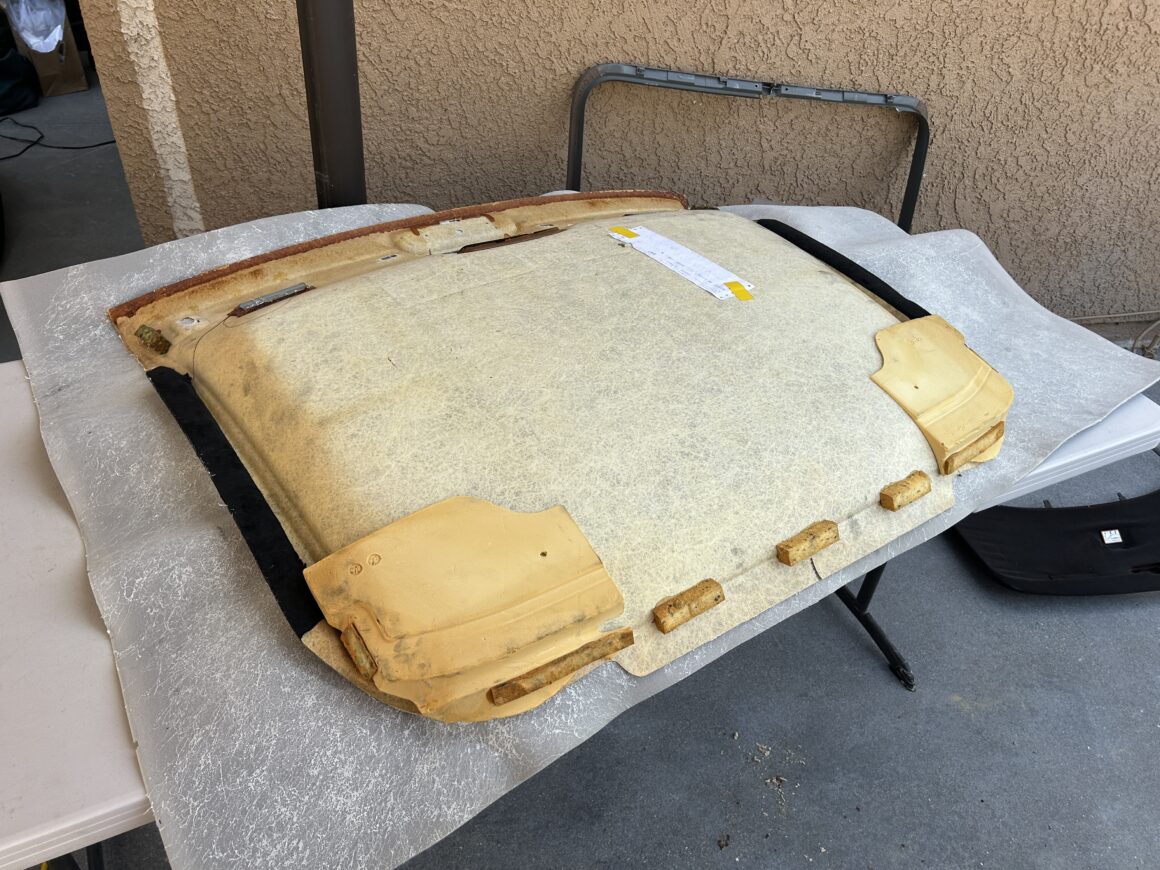
Once the headliner is removed, you can assess the damage. On this headliner I’m going to be reupholstering, part of the headliner has been sagging. I will be removing the entire headliner fabric, and reupholstering the fabric.
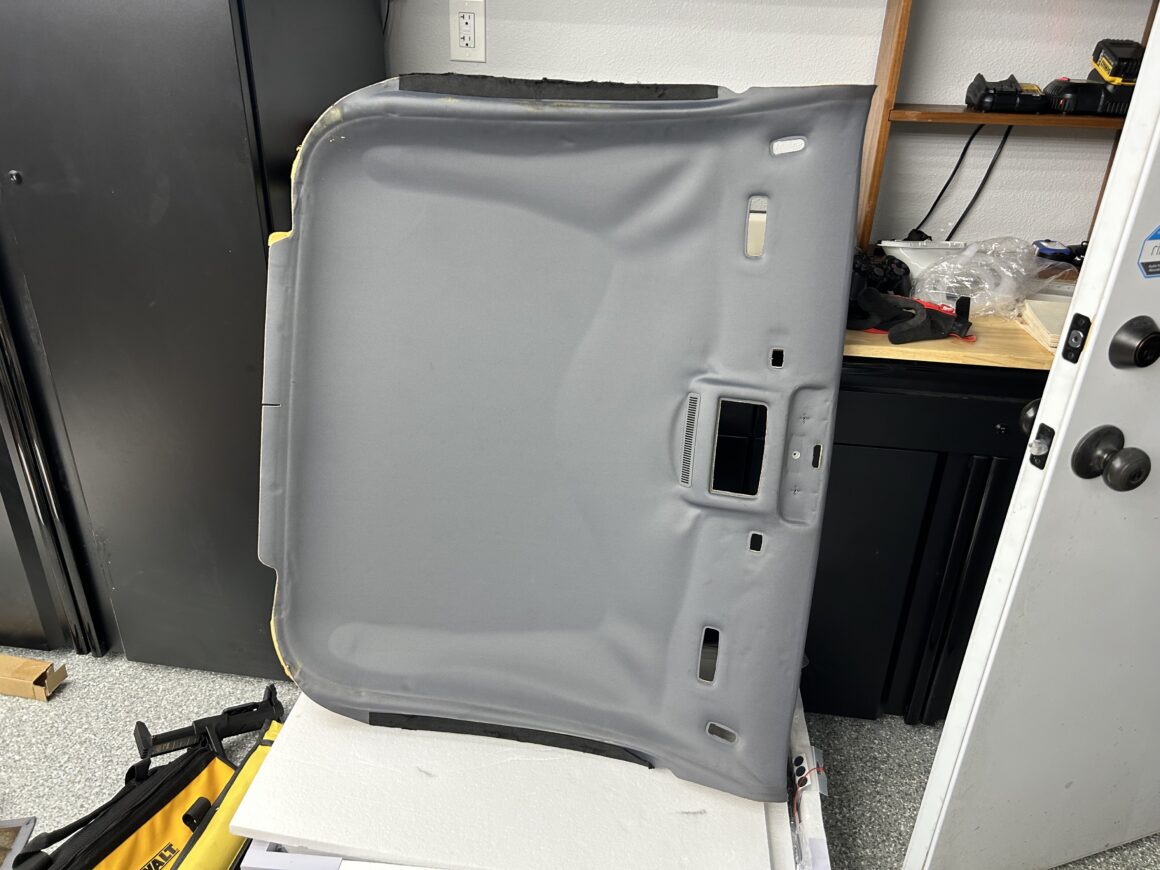
First, remove the fabric from the headliner by pulling it off. You can see at the parts that are already sagging from the headliner, the glue between the headliner and foam backing of the fabric has separated. The other parts that have not failed yet where the glue is still intact will usually result in the foam still being stuck on the headliner.
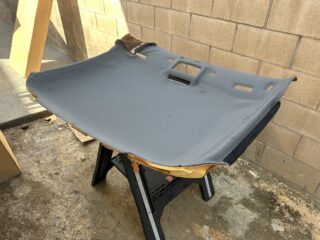
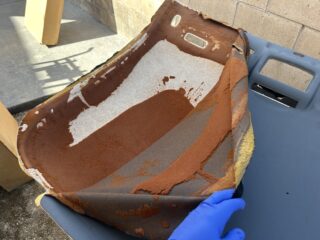
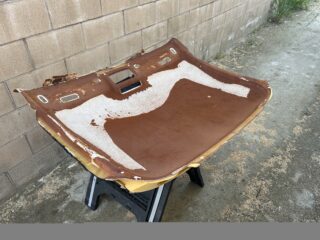
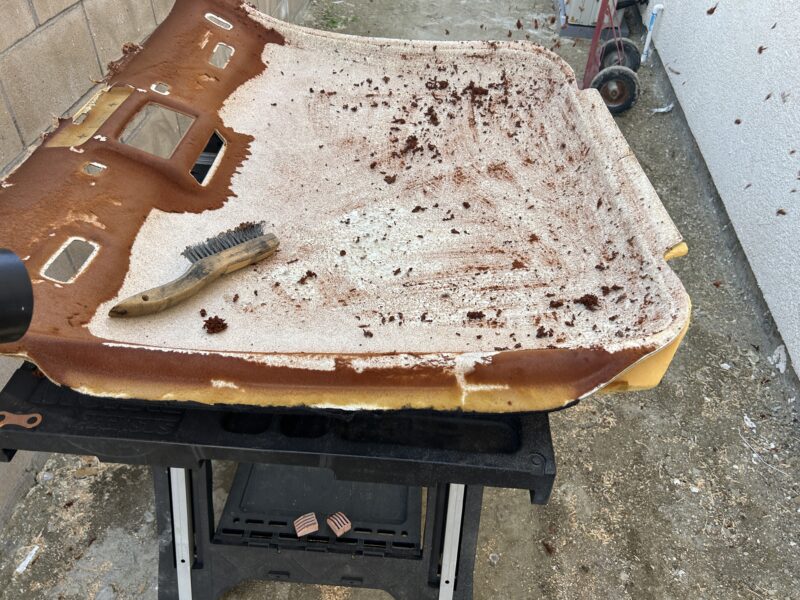
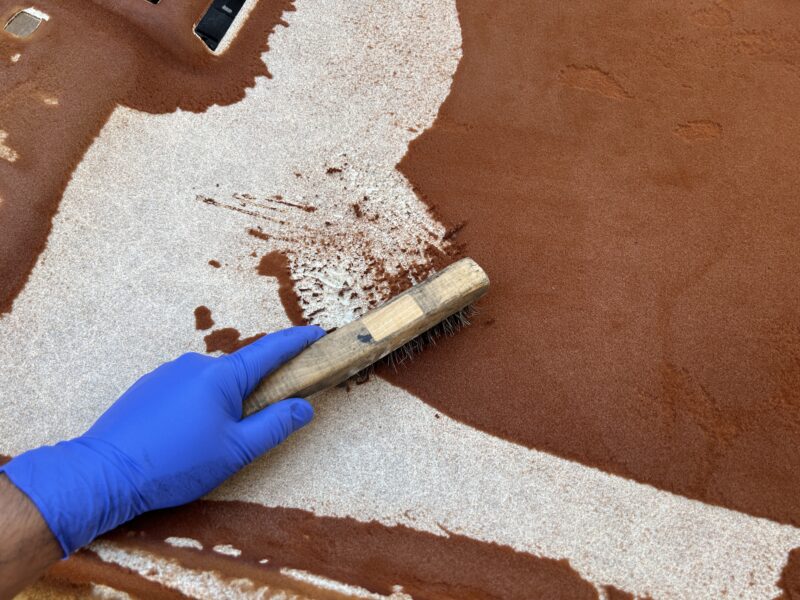
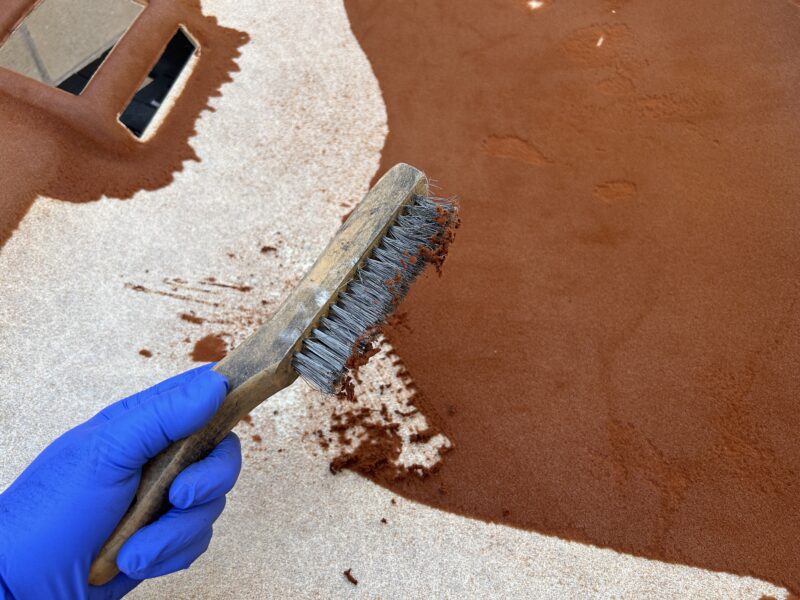
After the fabric has been pulled off, you’ll need to scrape off the foam from the headliner. A steel brush works very well here. Just brush away the foam, but be careful not to brush too hard and too much in one place as you don’t want to scrape away the headliner material itself.
Be patient and continue to scrape away all the foam material from the headliner. You want a good headliner backing without any foam so that you can reapply the upholstery glue. If you glue on top of any old foam, the foam can still separate in the future resulting in the headliner sagging again.
Make sure you have a new piece of upholstery fabric cut to fit your headliner. The fabric needs to extend at least 6 inches past the outside of the headliner. Don’t forget that as the fabric conforms to the bends and openings of the headliner, you’ll need the extra length around the outside of the headliner.
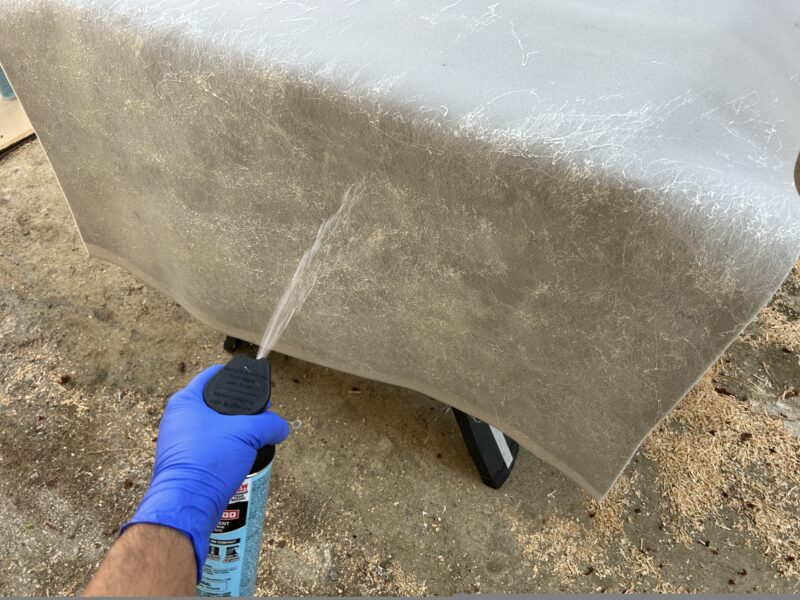
The way upholstery glue works is that it is applied to two surfaces that will glue together. Using the upholstery glue, spray in a back and forth pattern onto the backside of the upholstery fabric. Thoroughly coat the foam-side of the fabric. Do the same to the headliner itself, spreading glue all over the headliner.
After applying the glue, allow the glue to set for about 5 minutes. At this point, the glue is very sticky and once you mate the two glued surfaces together, it sticks together incredibly well.
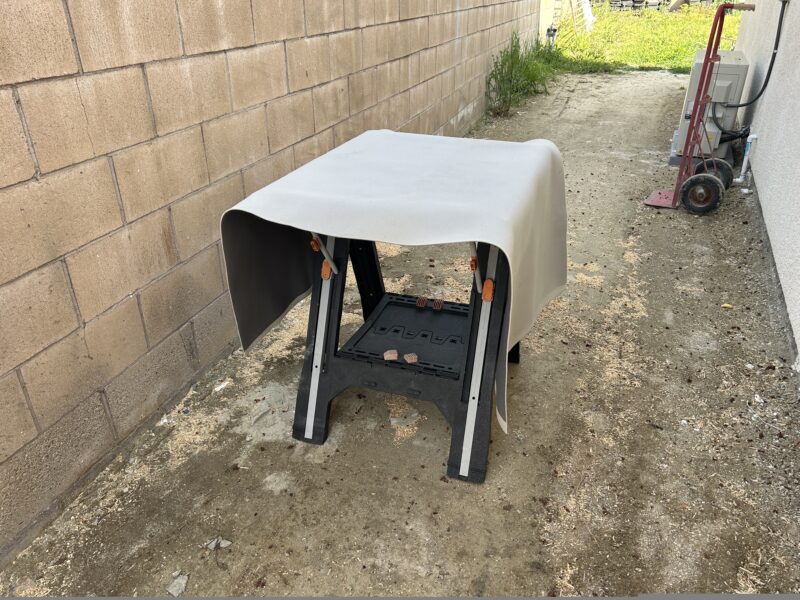
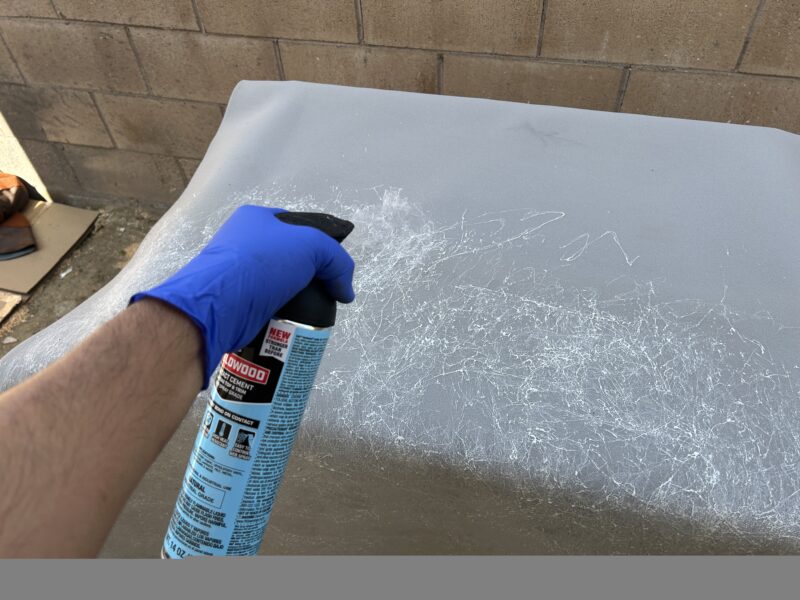
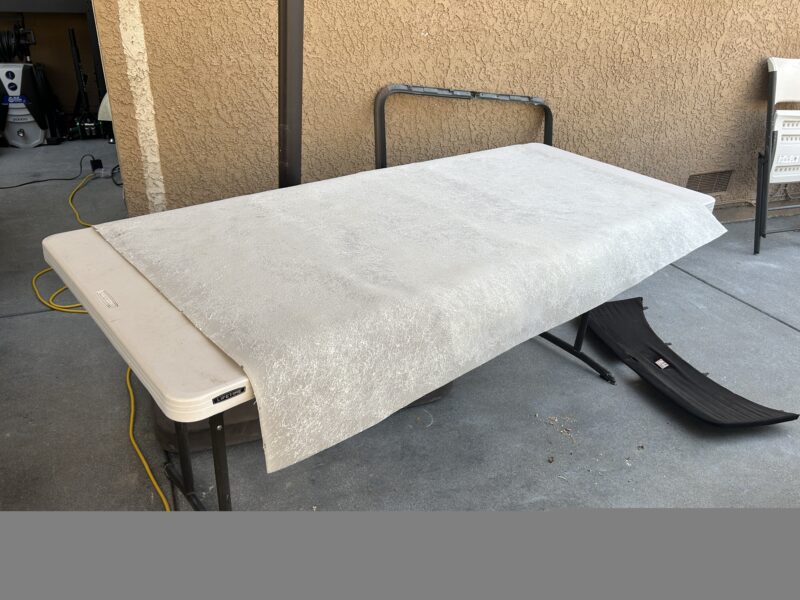
Carefully place the fabric onto the headliner and work the fabric onto the headliner. I like to use disposable gloves for this because it ensures my hands are clean and clear of glue. If you get glue onto the exposed side of the fabric, it is difficult to get off. If you do get glue on your gloves, you can simply toss them and get new ones so that you can be sure your hands are always clean.
Carefully work the fabric onto the headliner and ensure that the fabric goes on smoothly. If you end up with any creases or wrinkles, you can always reposition the fabric. If the fabric is already stuck onto the headliner, you can use a heat gun to warm up the area you need to separate and it will allow you to separate the fabric from the headliner so you can reapply.
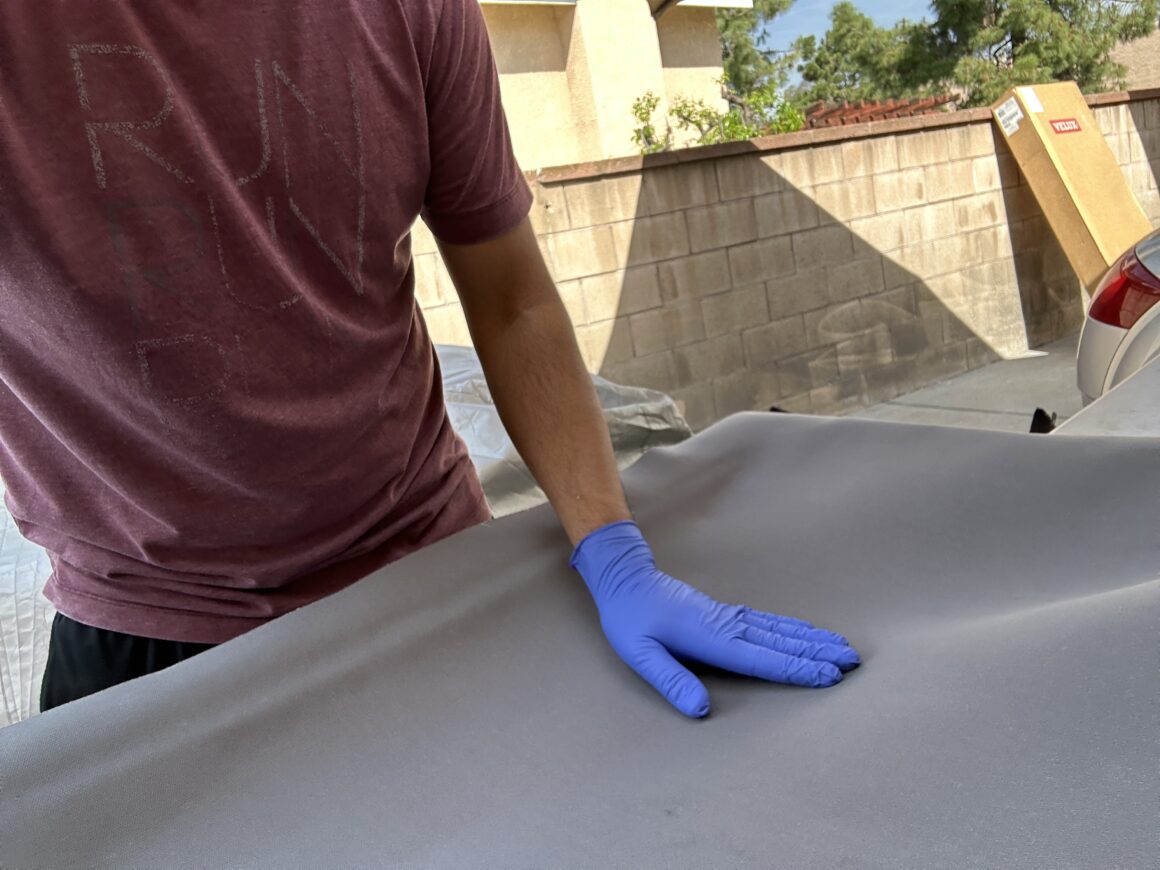
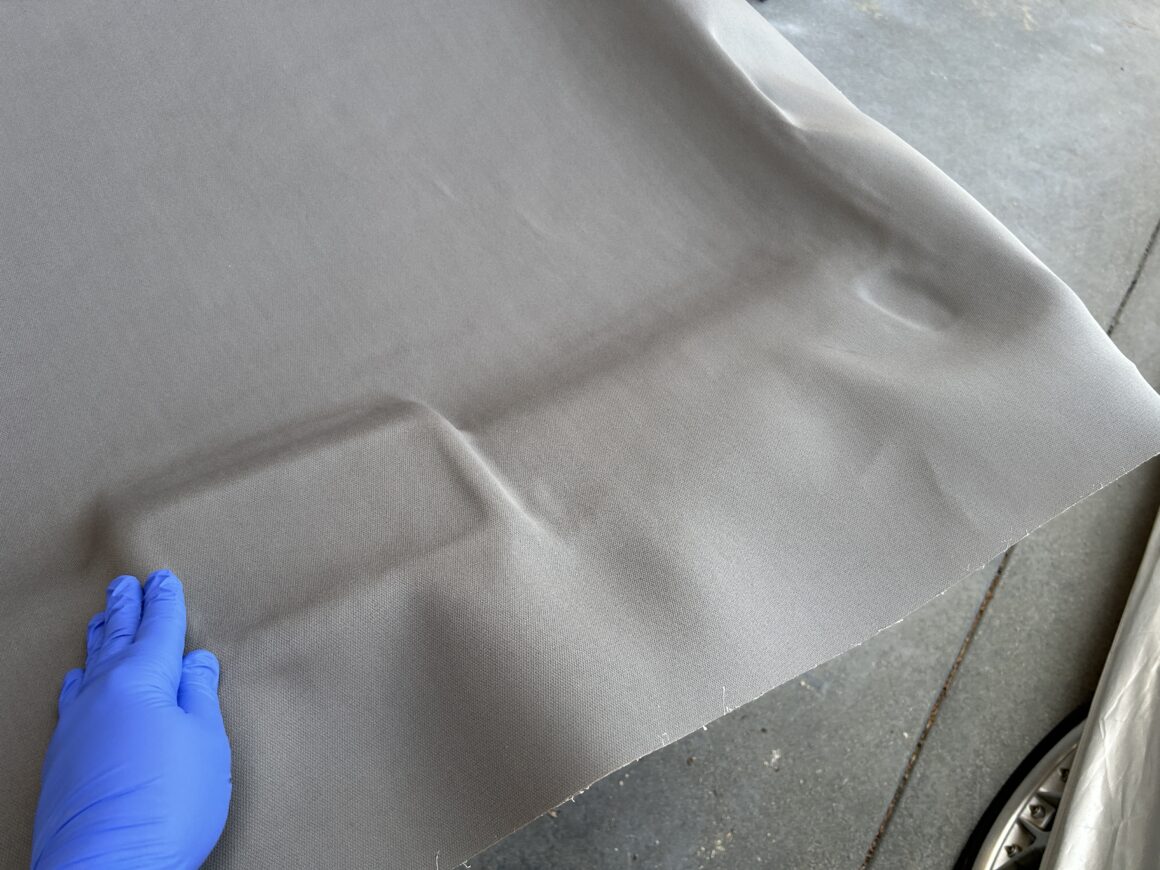
As you get to the openings in the headliner, you’ll need to cut openings into the fabric. I use either a utility knife or scissors to cut out the openings, ensuring that there is still about 1/2 to 3/4 inch extra fabric overhanging the edges of the headliner openings. You might need to cut slits at the corners to allow for the fabric to fold onto the back of the headliner. Be careful not to cut the corner slits too close to the edge of the opening or else when you fold it back later you might see that cut. I would say those corner slits should be a minimum of 1/8 inch away from the edge of the corner.
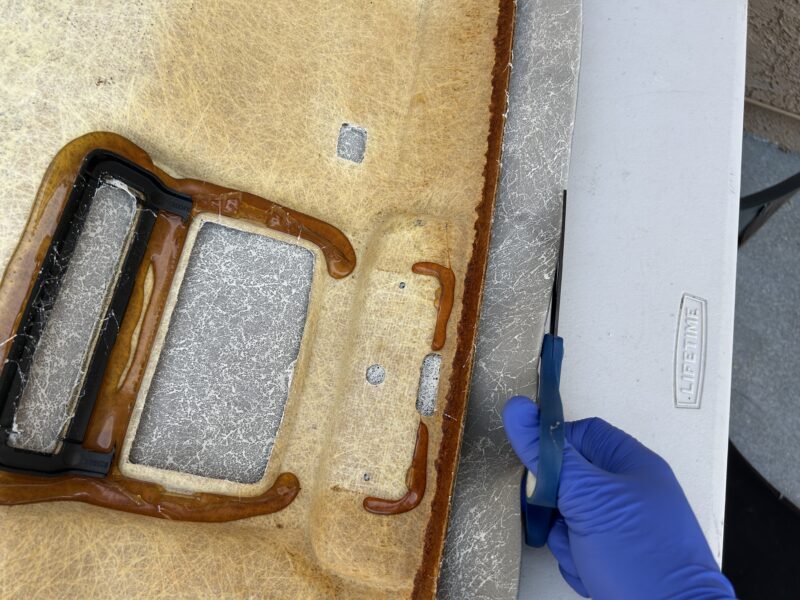
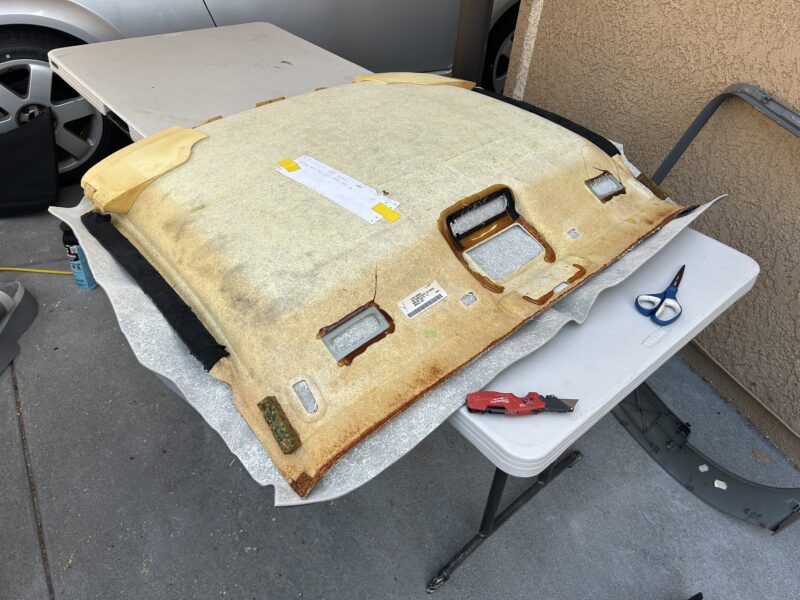
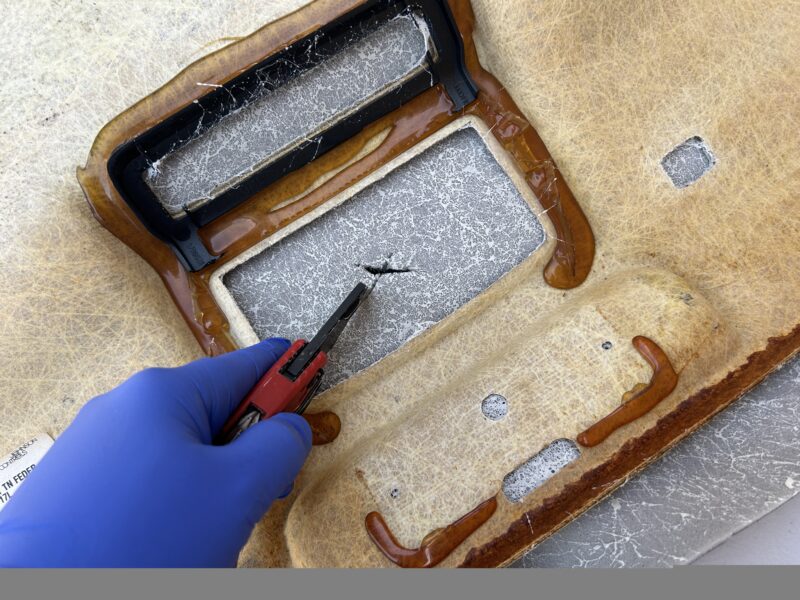
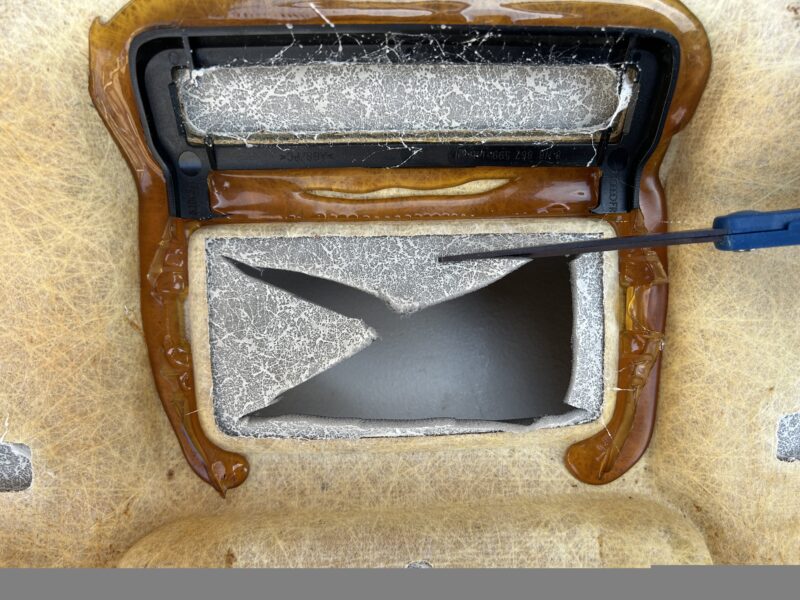
Before you fold all of those edges and corners in to the backside of the headliner, you’ll need to spray the upholstery glue onto both the fabric backing and the back of the headliner where it will stick to. As you did with the rest of the headliner, let it sit for about 5 minutes before you go and stick them together. Use a roller wheel to really press it on if you need to.
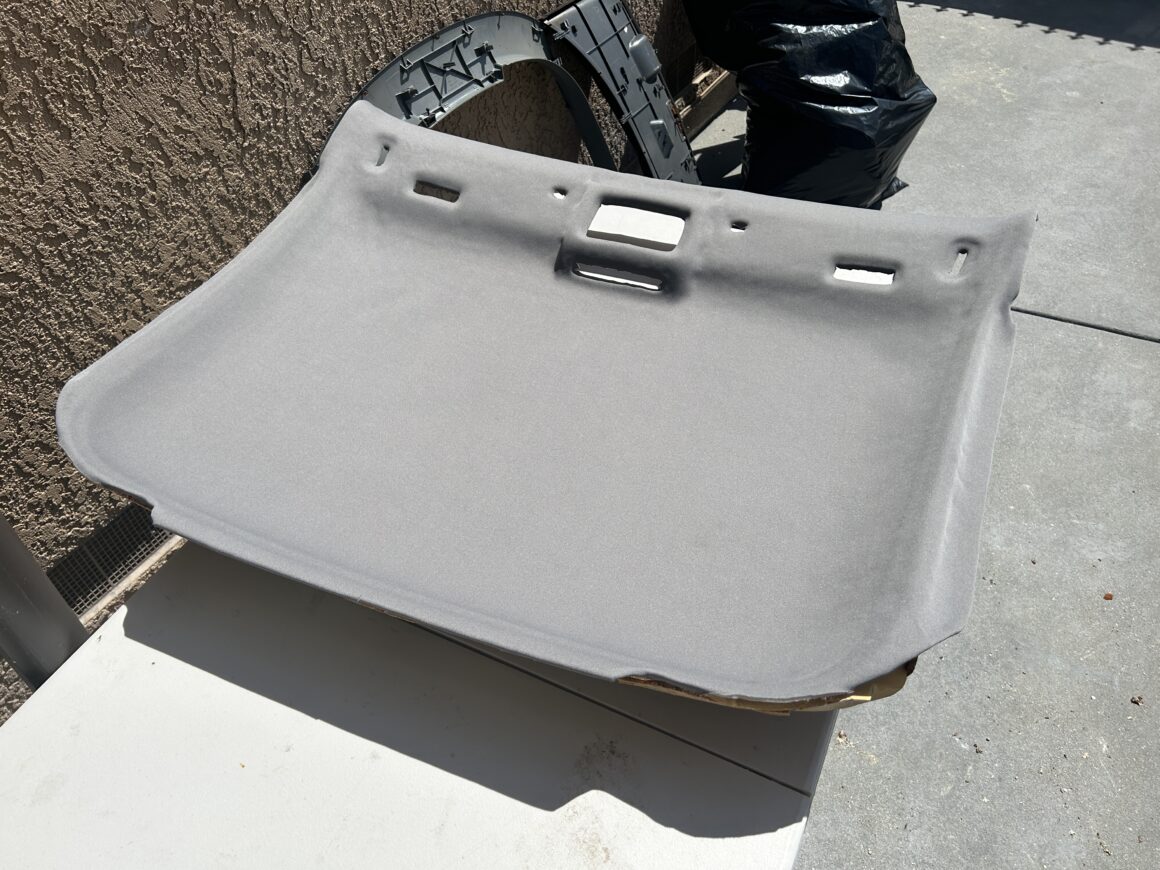
Ensure that the headliner fabric is fully and evenly pressed onto the headliner. I will make sure that my hands are washed or wear a new set of disposable gloves, and then push across the headliner to ensure there is pressure applied to the entire headliner. Go around all the edges as well. Inspect you work to make sure that the headliner fabric is evenly glued on and there aren’t any issues or visible flaws.
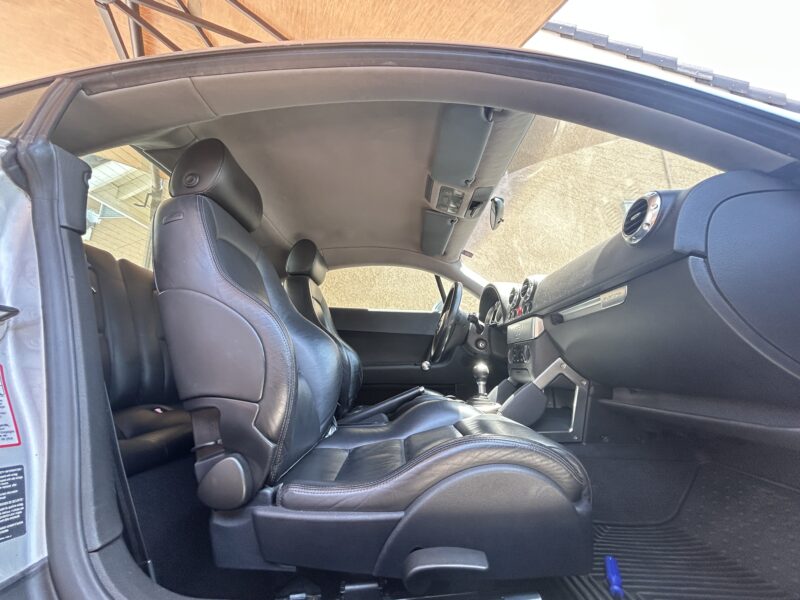
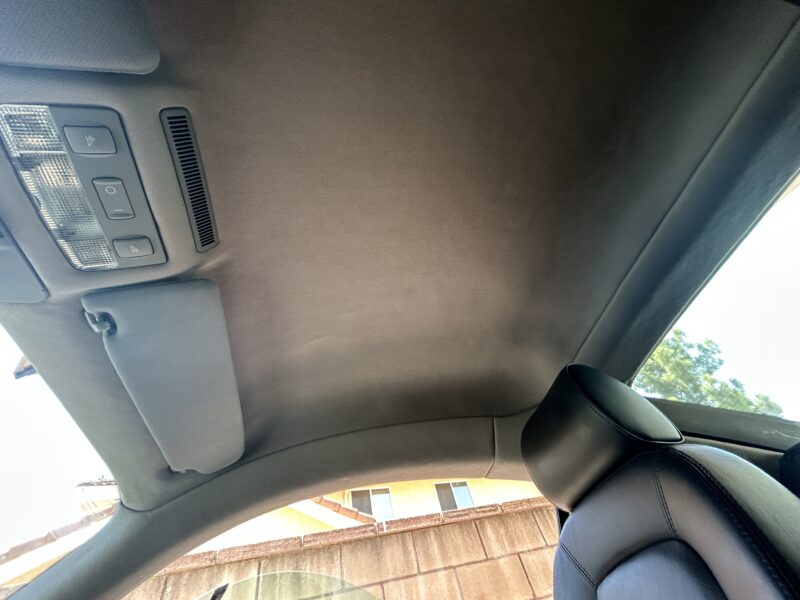
Re-attach your newly upholstered headliner back onto your car in the reverse order of removal. As always, be careful with all of the trim you reinstall as there is a likely chance of plastic trims and clips getting damaged during installation.
After reupholstering your headliner, you can really appreciate the brand new looking headliner. Repairing the sagging headliner by reupholstering the fabric leaves you with a new looking result. Although it does take a lot of time to remove and reupholster, it seriously beats the look of headliners where people have tried to do quick repair. The most difficulty I ran into during the whole process was probably during resinstallation with breaking clips, but I am glad I did the job because it looks so much better than before.
AP by OMG
Asian-Promotions.com |
Buy More, Pay Less | Anywhere in Asia
Shop Smarter on AP Today | FREE Product Samples, Latest
Discounts, Deals, Coupon Codes & Promotions | Direct Brand Updates every
second | Every Shopper’s Dream!
Asian-Promotions.com or AP lets you buy more and pay less
anywhere in Asia. Shop Smarter on AP Today. Sign-up for FREE Product Samples,
Latest Discounts, Deals, Coupon Codes & Promotions. With Direct Brand
Updates every second, AP is Every Shopper’s Dream come true! Stretch your
dollar now with AP. Start saving today!
Originally posted on: https://thetrackahead.com/articles/how-to-articles/how-to-reupholster-a-sagging-headliner-on-your-car/